How to make fresh Pita Bread
Ingredients:
- 1 package of yeast, or quick rising yeast
- 1/2 cup warm water
- 3 cups all purpose flour
- 1 1/4 teaspoon salt
- 1 teaspoon granulated sugar
- 1 cup lukewarm water
Dissolve yeast in 1/2 cup of warm water. Add sugar and stir until dissolved. Let sit for 10-15 minutes until water is frothy.
Combine flour and salt in large bowl or bread mixer/kitchenaid . Make a small depression in the middle of flour and pour yeast water in depression.
Slowly add 1 cup of warm water, and stir with wooden spoon or rubber spatula (or your hands!) until elastic (this part is way easier with a kitchenaid and bread hook attachment and you can omit the next part by just letting it go on its own for 10 min). Place dough on floured surface and knead for 10-15 minutes until dough is smooth and elastic.
Coat large bowl with vegetable oil and place dough in bowl. Turn dough upside down so all of the dough is coated and allow it to sit in a warm place for about 1 to 3 hours, or until it has doubled in size.
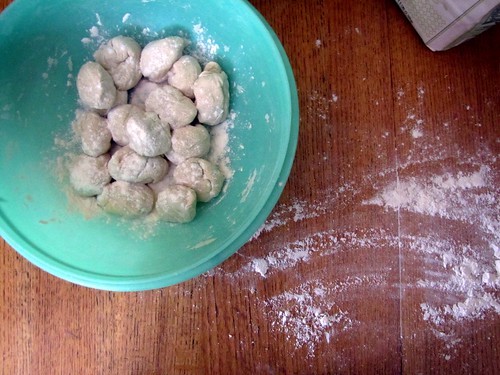
Once doubled, roll out in a rope, and pinch off 10-16 small pieces. Place balls on floured surface. Let sit covered for 10 minutes.
Preheat oven to 500 deg F. (make sure rack is at the very bottom of oven) also preheat your baking sheet. (Don’t use a baking stone! I learned the hard way… it is now in two pieces. So sad.).
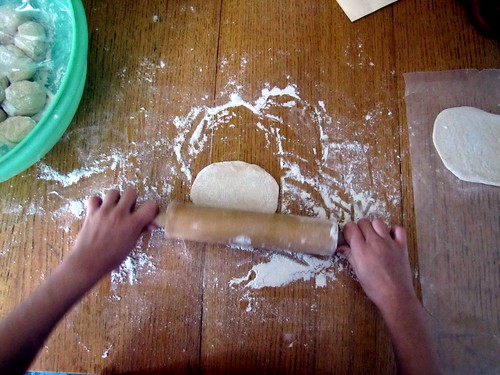
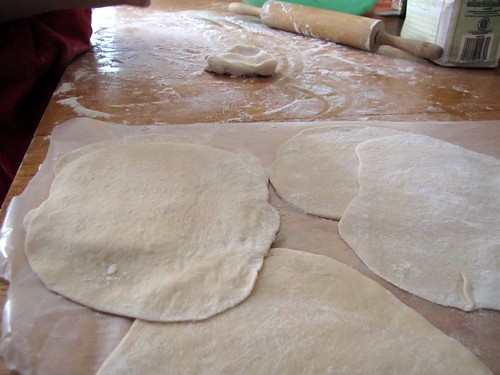
Roll out each ball of dough with a rolling pin into circles. Each should be about 5-6 inches across and 1/4 inch thick. the thinner... the more puff you get.
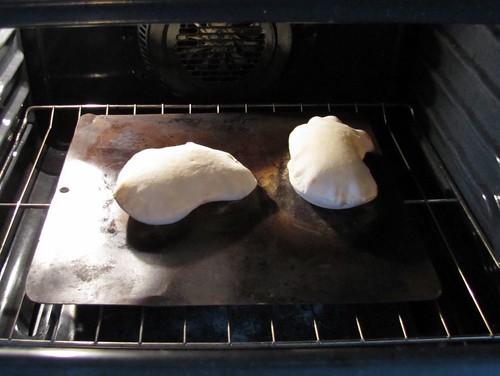
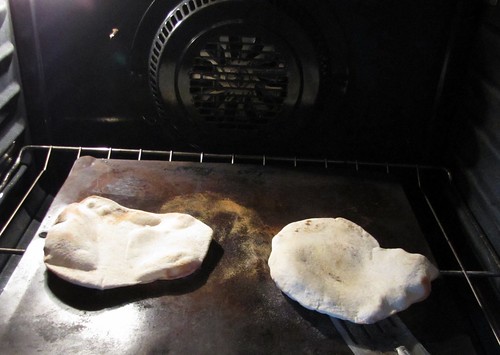
Bake each circle for 4 minutes until the bread puffs up. Tamp it down with the spatula and then turn over and bake for another 2 minutes.
Remove each pita with a spatula from the baking sheet and add additional pitas for baking.
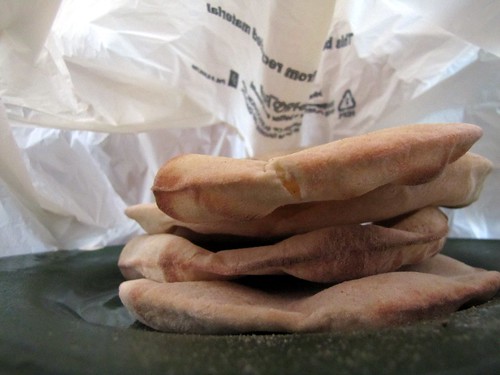
Immediately place hot pitas in storage bags. This is how they stay soft, if you eat them straight from the oven they have a crunch to them! You can reheat them in the toaster or oven.
Always get a bit of flour on your nose... it gives the illusion of hard work... lol!
I like to make homemade falafel, hummus and tahina sauce to go with mine, but with peanut butter, cinnamon and sugar or plain is alway delicious too!
Enjoy!! xo~d.




10 comments:
yum yum! i want to make them!
how long will they stay fresh?
if you leave them in the bag, they last a couple days but need to be heated up a tad to soften them up. They never last overnight here though... lol... we eats 'em up fast!
i'm sure we would too, but it might be nice to make extra and freeze them. maybe freeze the dough? hmmm...
I would freeze the pitas... after baking. it is such a quick, rapid fire process, that it is so easy to do, whenever. just watch out for all of the flour everywhere though... it gets so slippery! lol...
Those look yummy and pretty simple! Thanks for the how-to!
ahhh what an amazing idea! love baking (some people call me the dough dr! haha)
ahhh what an amazing idea! love baking (some people call me the dough dr! haha)
awesome!! thank you so much for sharing; i am bookmarking this to make later!!
yum - thanks for the recipe!
I'm glad I stopped by your blog - I've been out of the blog loop for a while. And my 5yo is having a ball "feeding your fish". ;)
I love making homemade pita bread, and I really like your corner of the virtual world. It inspires me.
~Kristin
Post a Comment